Smart buttons
At the top of the contact form, there are some additional options available, known as smart buttons. The system displays a variety of records, related to this contact, that were created on other apps. Odoo integrates information from every single app, so there are many smart buttons.
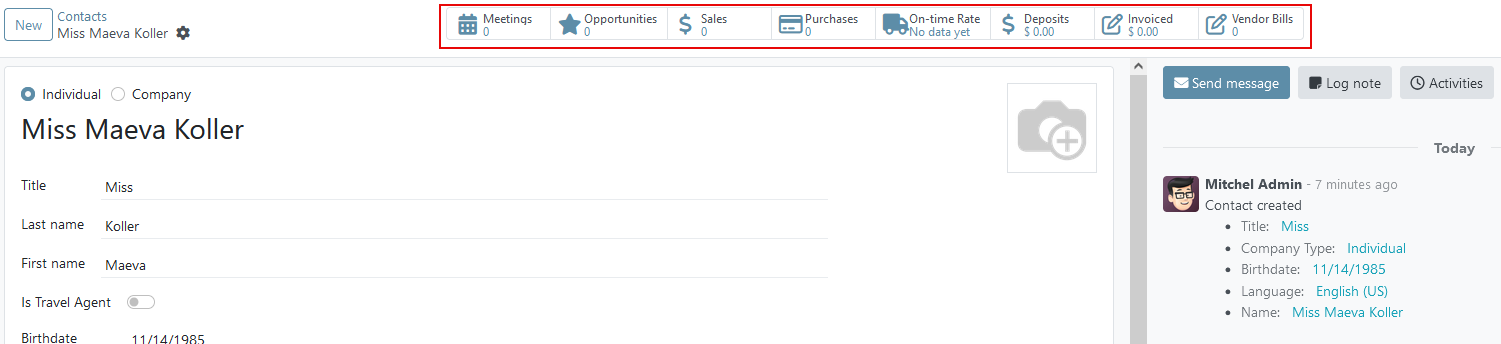
A user can see any Meetings, Opportunities, Sales, etc. A user can even quickly access Purchases, Helpdesk tasks, On-time Rate for deliveries, Invoiced information, Vendor Bills, and the Partner Ledger connected to this contact.
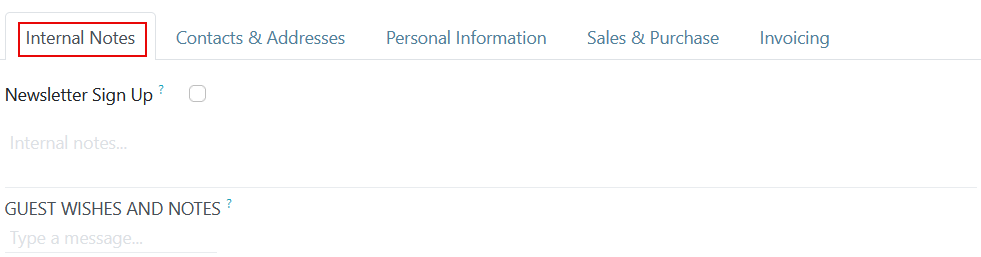
'Internal Notes' tab
Under the contact mask, there are several tabs. In the 'Internal Notes' tab, the following information can be found:
- Newsletter Sign Up - if the checkbox is enabled, the contact agrees to receive the newsletter and information via email;
- Internal Notes - any additional information about this contact can be written in this field;
- Guest wishes and notes - the data entered by the guest on the guest portal regarding requests or wishes for reservation will be displayed in this field. More details in this article.
'Contacts & Addresses' tab
On the Contacts & Addresses tab, contacts can be added that are associated with a Company and related addresses. For example, a specific contact person for the company can be listed here. Multiple addresses can be added to both Individual and Company contacts.

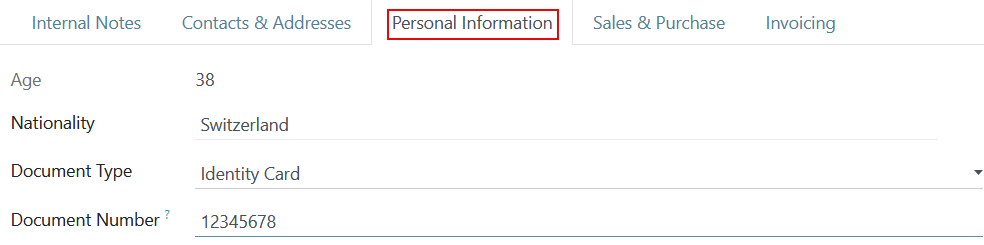
'Personal Information' tab
In the 'Personal Information' tab, the following information can be found:
- Age - system automatically computes this value if birthdate is set;
- Nationality - set nationality for a certain contact;
- Document Type - one of the following options can be chosen: Passport, Identity Card or Residence Card;
- Document Number - enter the number of the document whose type was selected above.
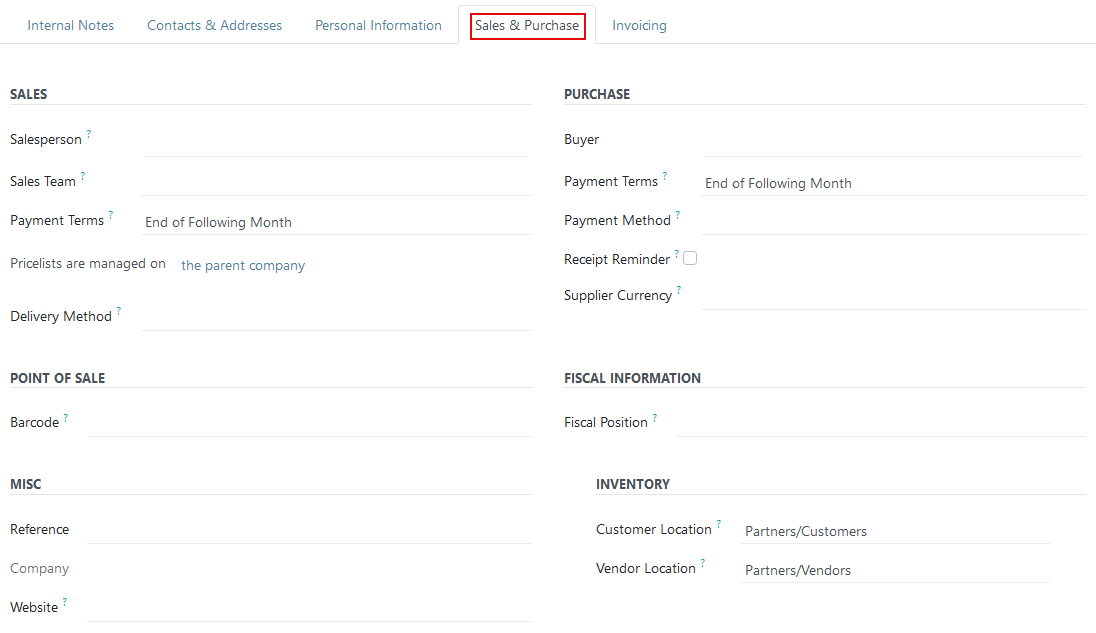
'Sales&Purchases' tab
In the 'Personal Information' tab, the following information can be found:
- Under the Sales heading, a specific Salesperson can be assigned to a contact. Certain Payment Terms can also be set if needed. Click into the Delivery Method field to select an option from the drop-down menu.
- Under the Point Of Sale heading, enter a Barcode that can be used to identify the contact.
- Under the Purchase heading Specify Payment Term and a preferred Payment Method here. A Receipt Reminder can be set here, as well.
- Under the Misc. heading, use the Reference field to add any additional information for this contact. If this contact should only be accessible for one company in a multi-company database, select it from the Company field drop-down list. Use the Website drop-down menu to restrict the publishing of this contact to one website (if working on a database with multiple websites).
'Invoicing' tab
The Accounting tab appears when the Accounting application is installed. Here, a user
can add any related Bank Accounts, or set default Accounting entries.

There are no comments for now.
to be the first to leave a comment.