This article will demonstrate how simple and straightforward it is to create a POS order.
How to create a PoS order
Once the PoS session is opened, and the user logs in - a restaurant/bar scheme is presented.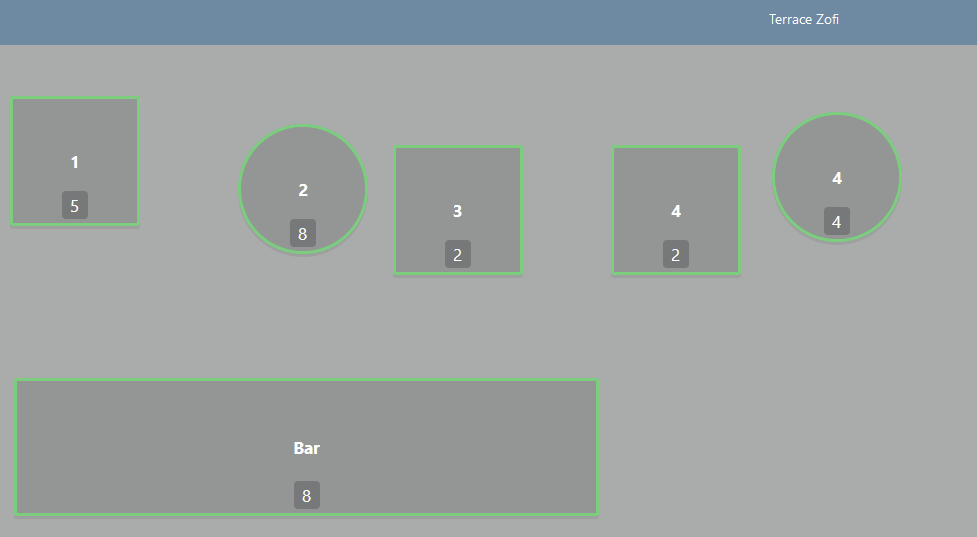
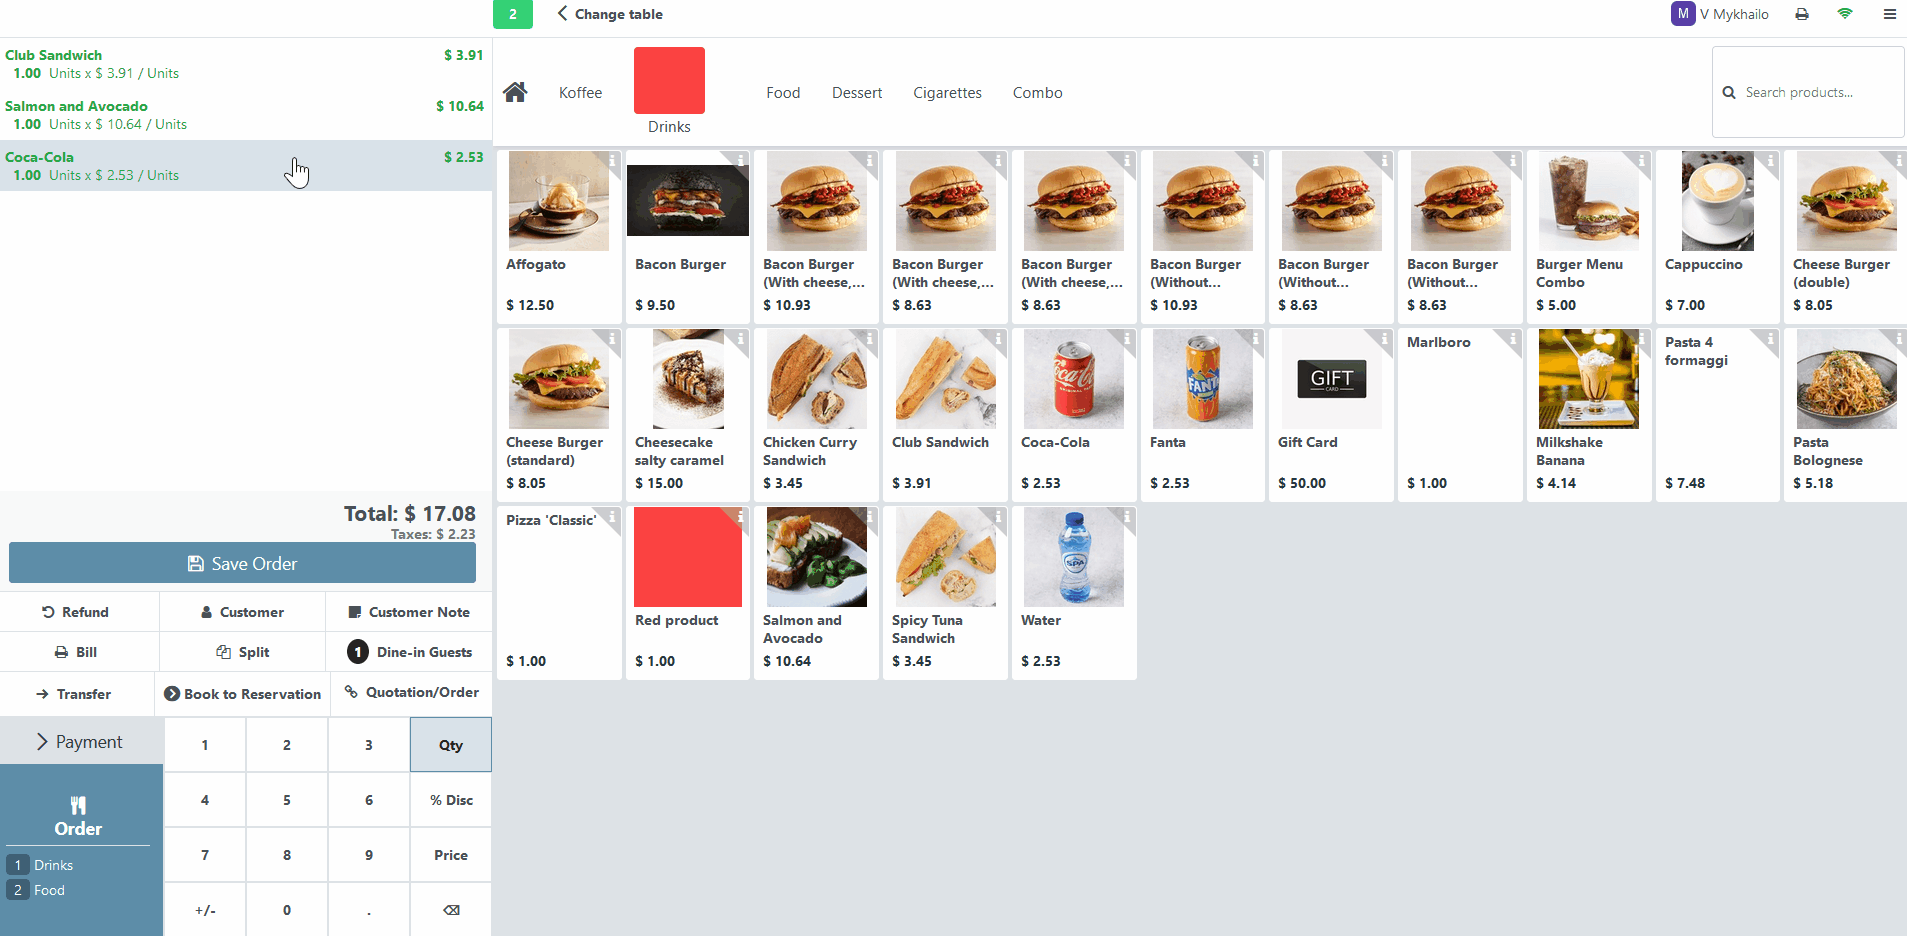
Clicking on any available table will open the PoS menu and all available PoS categories and related products.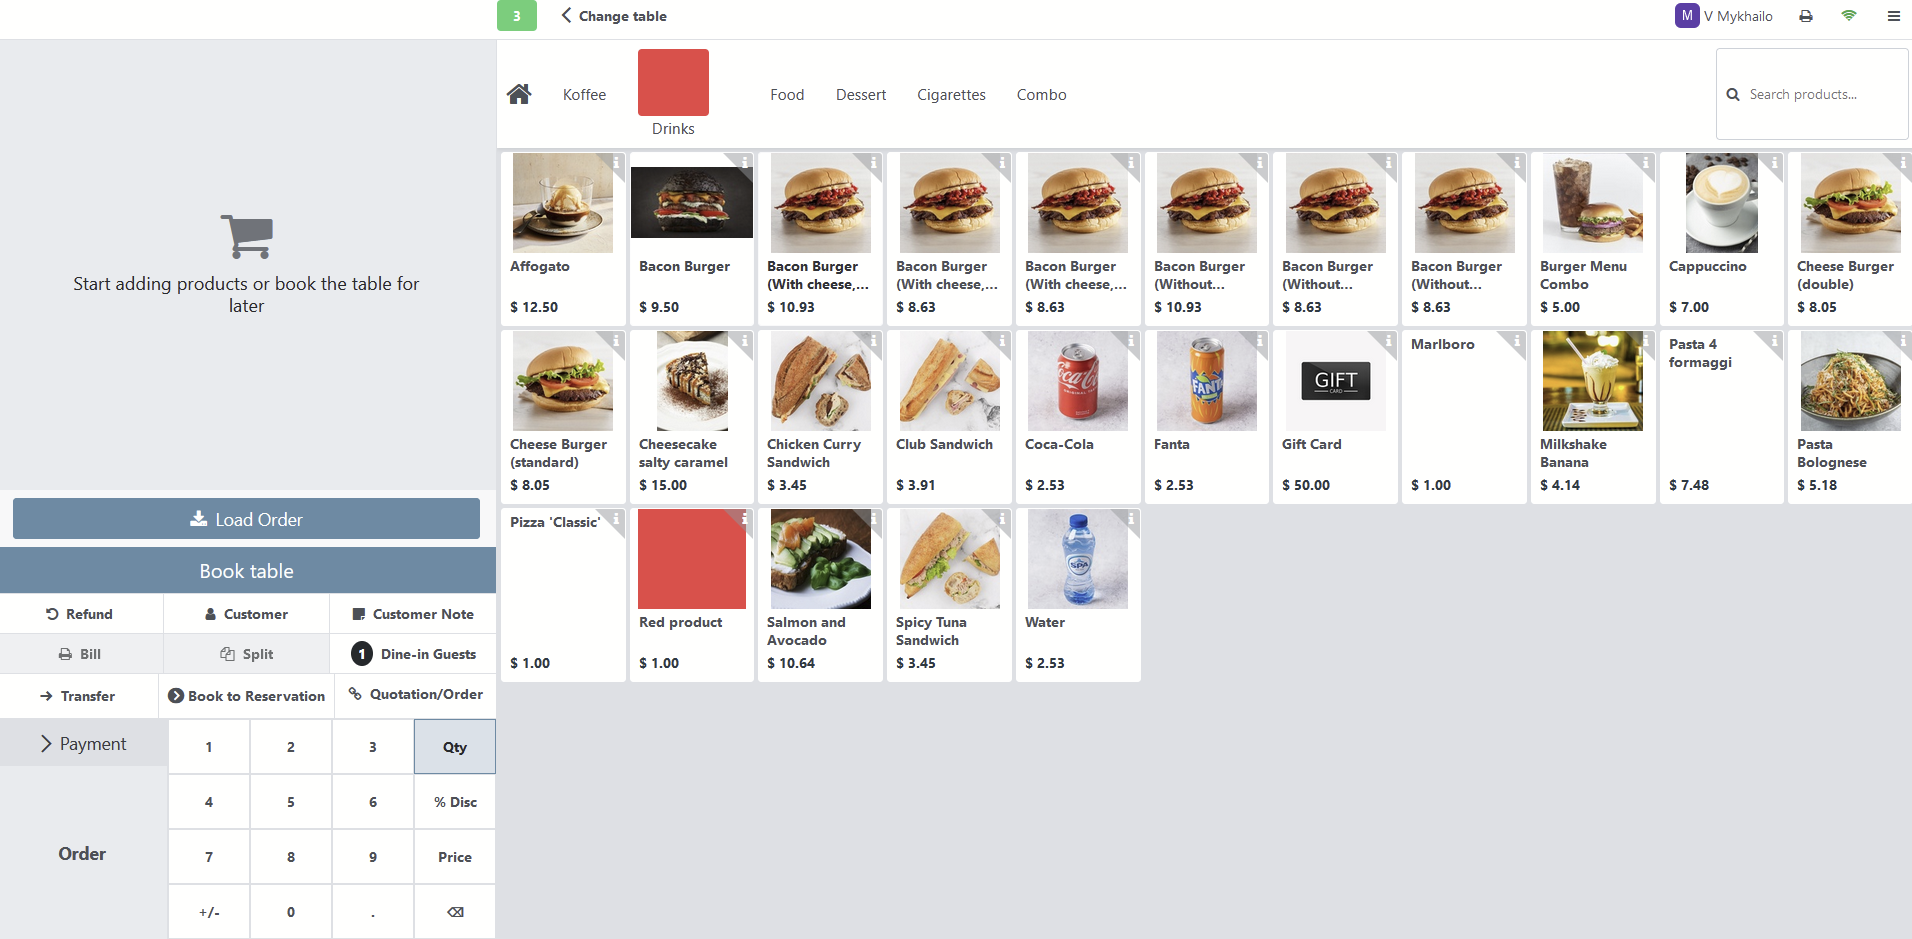
To add an item to the current PoS order - click on the selected item once. An extra click on the same item increases the quantity of added items. Also, quantity can be managed via the Qty button in the navigation menu - click on this button and then use the numbers panel.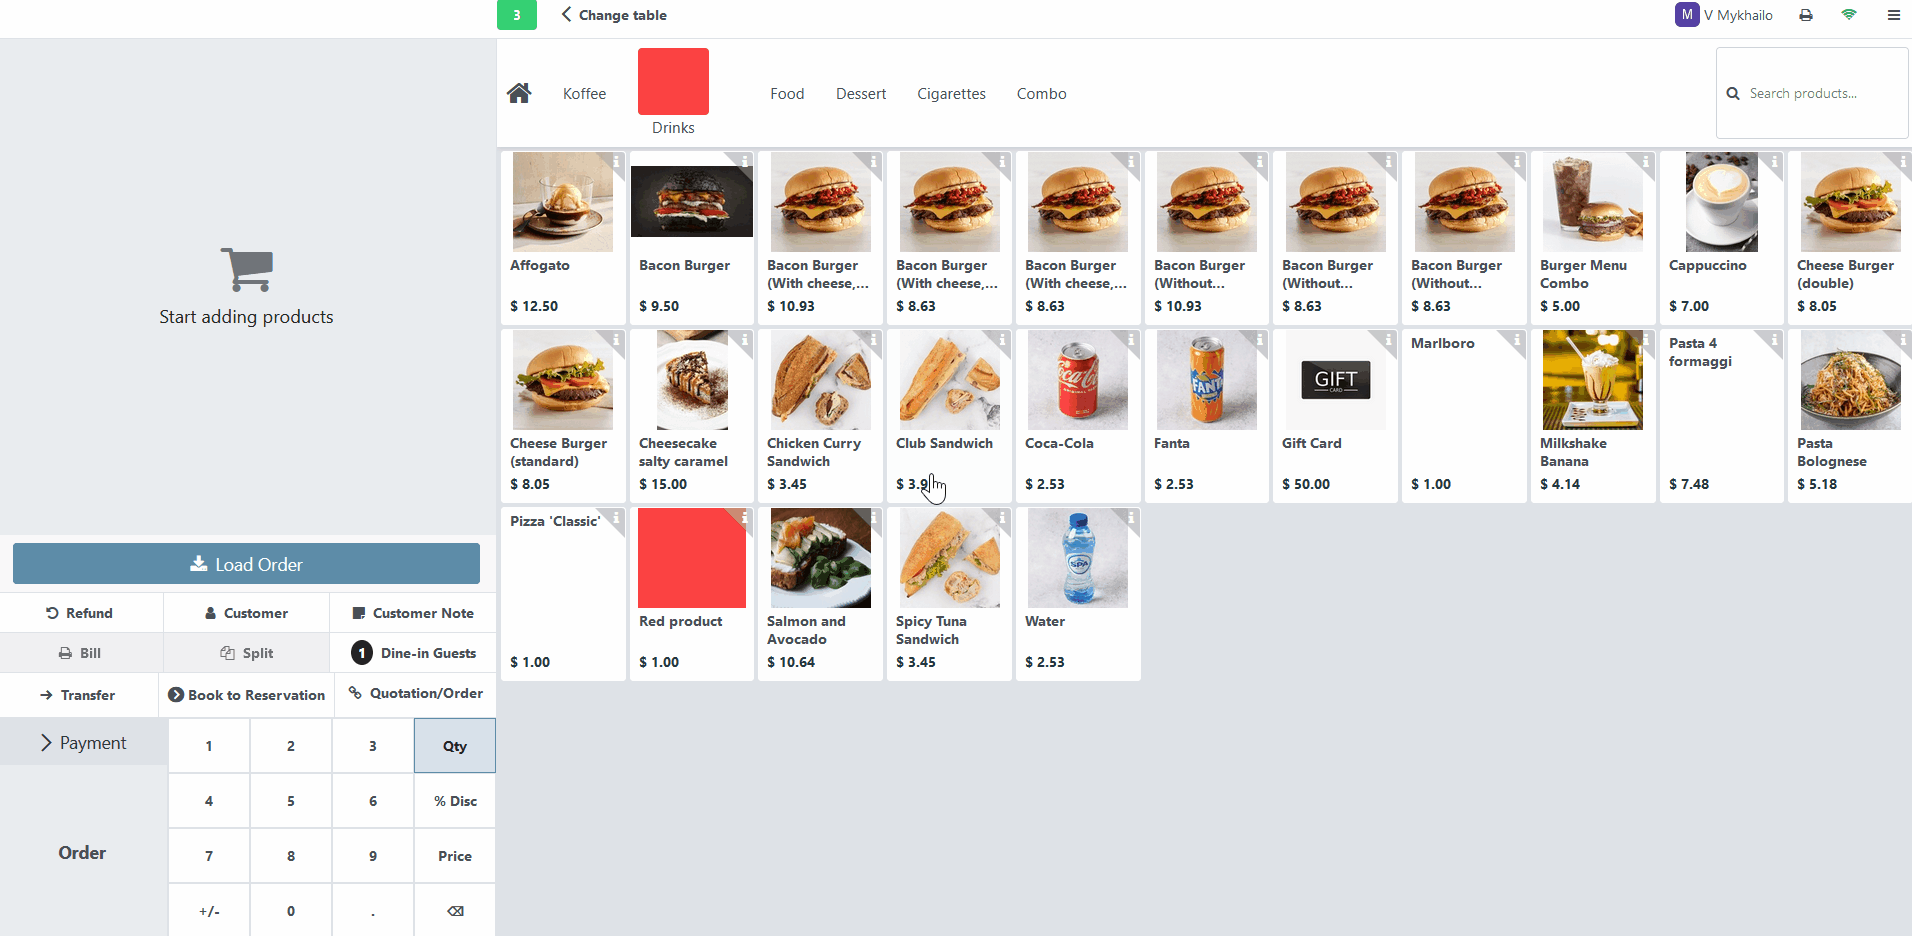
To remove an added item - click the erase button a few times until the item is removed from the order window.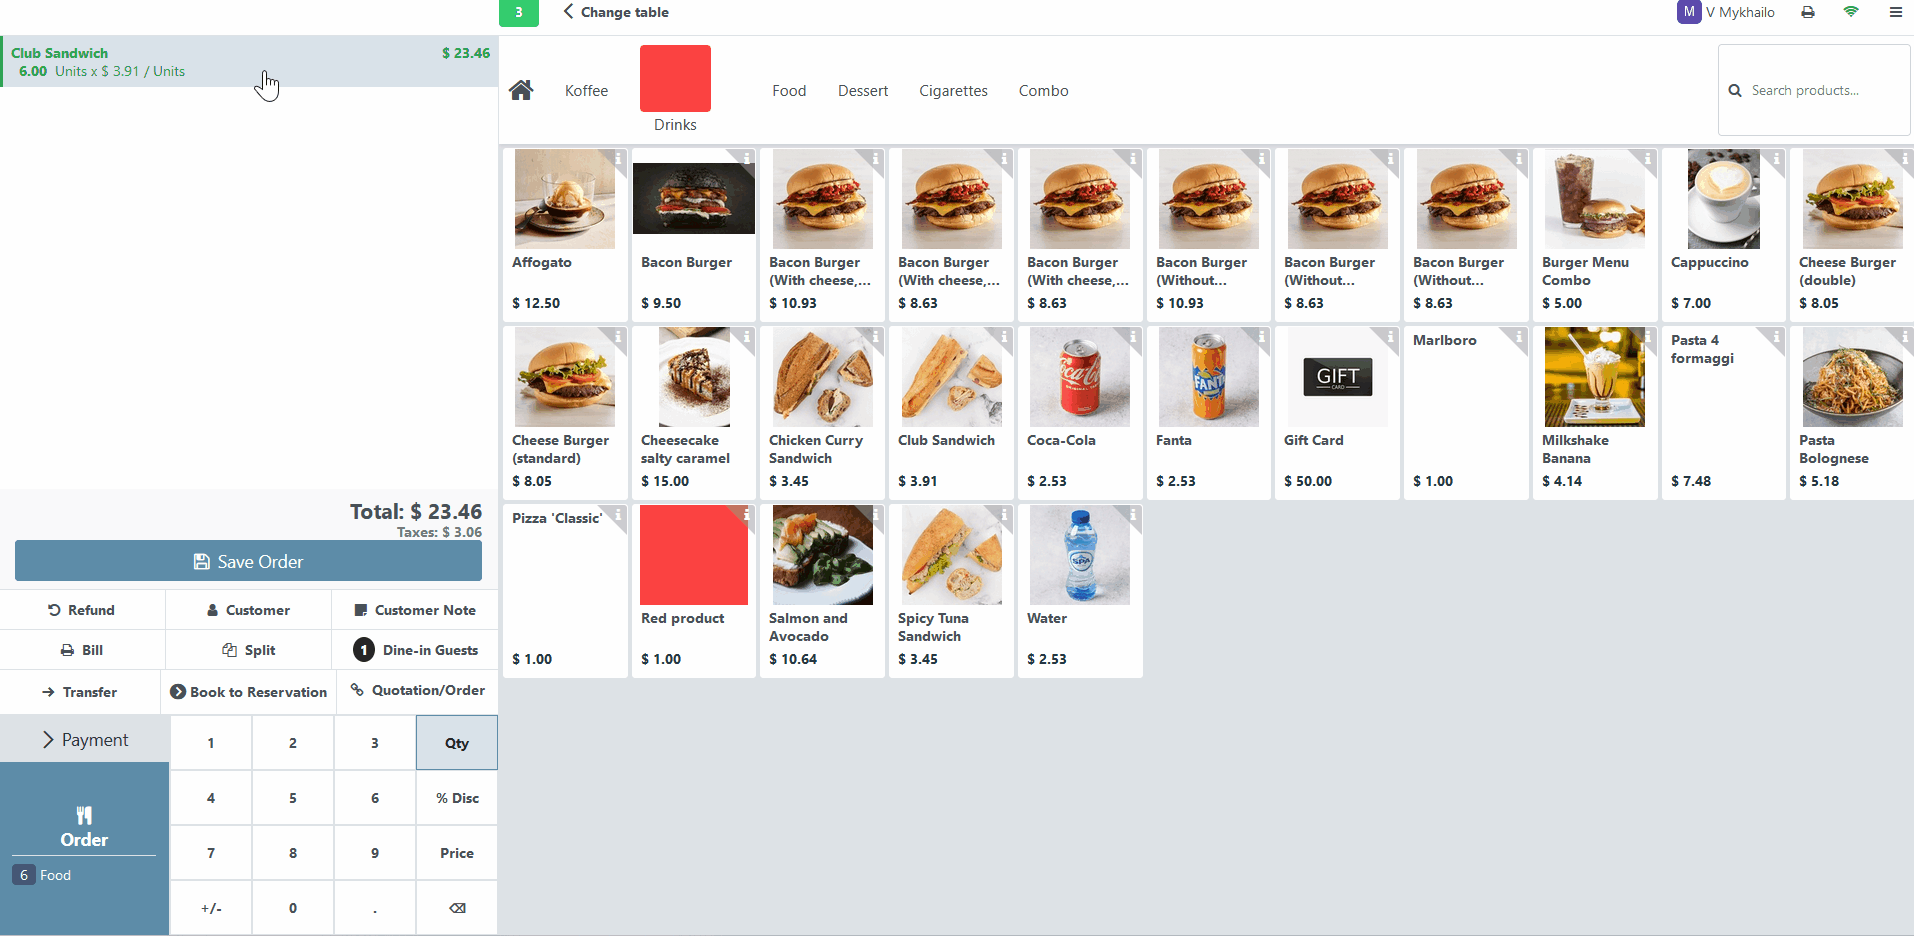
Serve and Order functionality
Once all items are added to the PoS order, there is the following interaction process between waiter and kitchen:
- the Order button is available in the navigation menu in the left bottom corner. Once it is clicked - the font color of each item changes from green to black and the fork&knife icon appears near each item;
2. once all ordered items or a specific one is ready to be served - the Serve button is available after double-clicking on a selected item(s). Once the Serve button is clicked - the font color of each item changes from green to orange and the bell icon appears near each item; 
3. moreover, if required, you can cancel items that have already been ordered or served by clicking on the item and then double-clicking the delete option.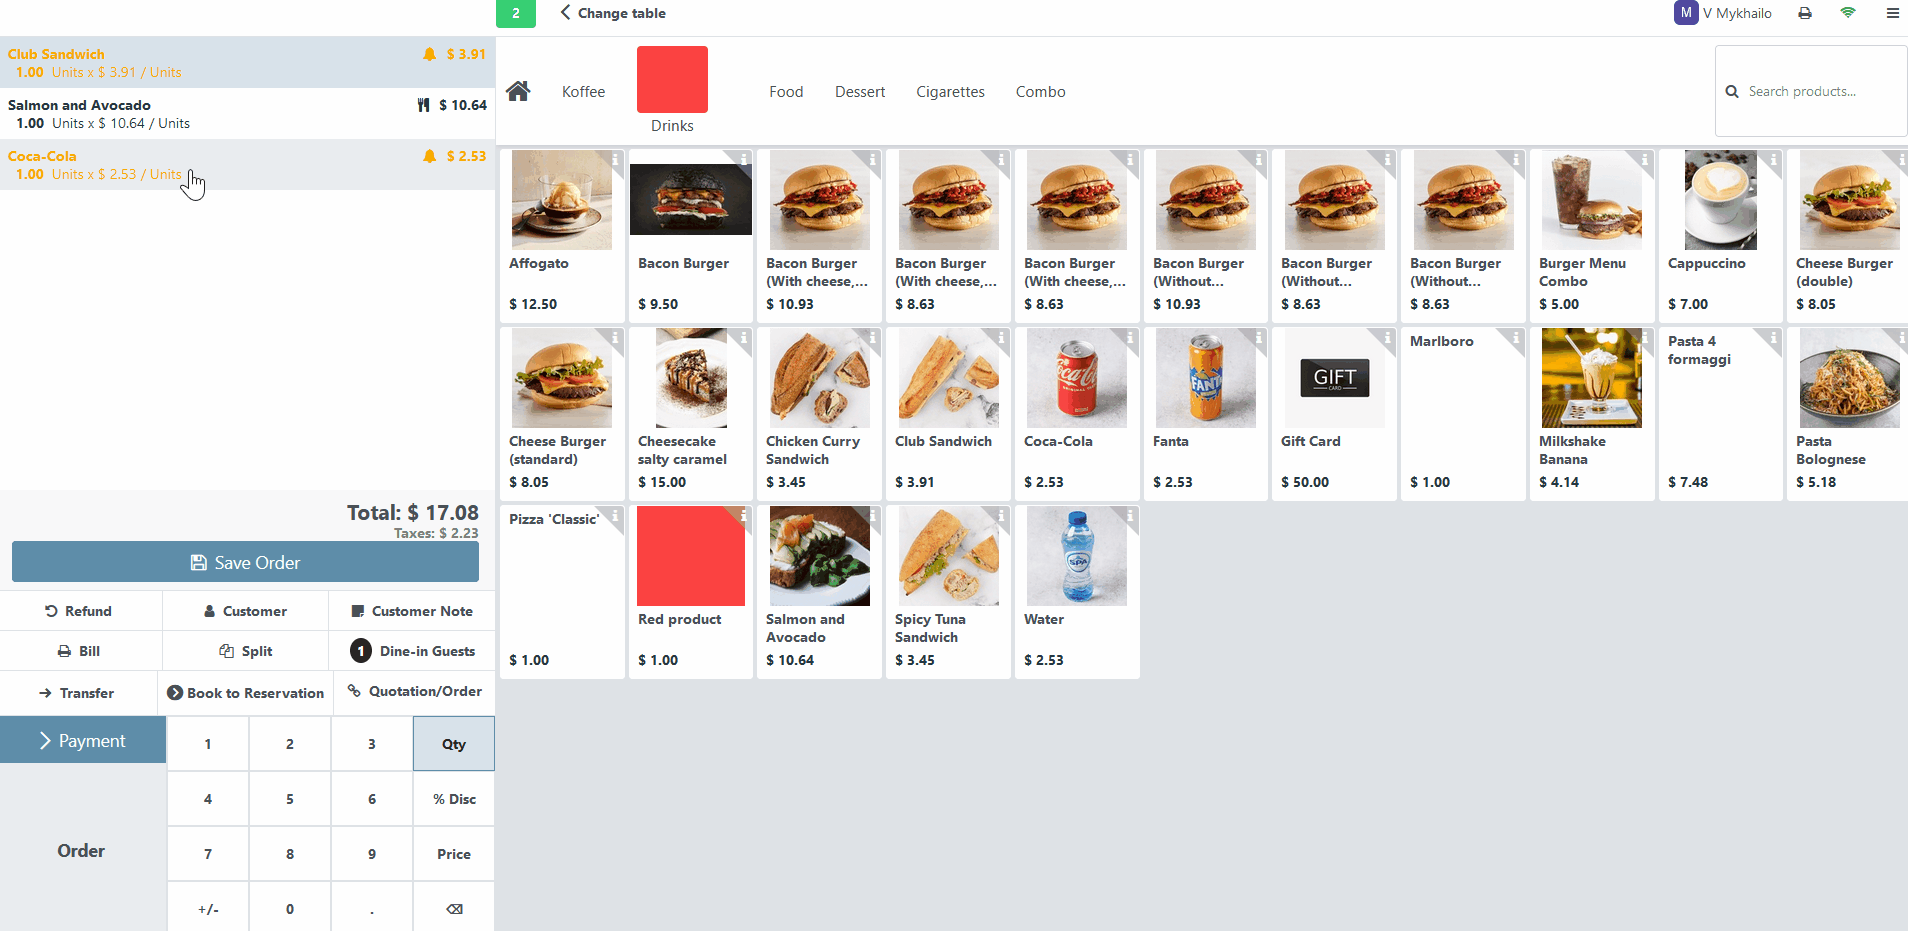
Momentan sind keine Kommentare vorhanden.
, um als erster einen Kommentar zu hinterlassen.