Self check-in procedures are transforming the hospitality industry, offering guests a convenient and efficient way to check in to their accommodations. In this article, we will delve into the world of self check-in in the hotel industry, exploring its benefits and providing insights into how hotels are adapting to this innovative approach to guest services.
How to Request Guest Info
To start the process, do the following steps:
- choose any existing reservation in the 'Confirmed' status or create a new one;
- click the 'Request Guest Info' button that is located in the top bar;
- in the pop-up window check the template and click 'Send' at the bottom;
- after the email is sent, it will be displayed in the chatter on the right with an active link to the guest's portal;
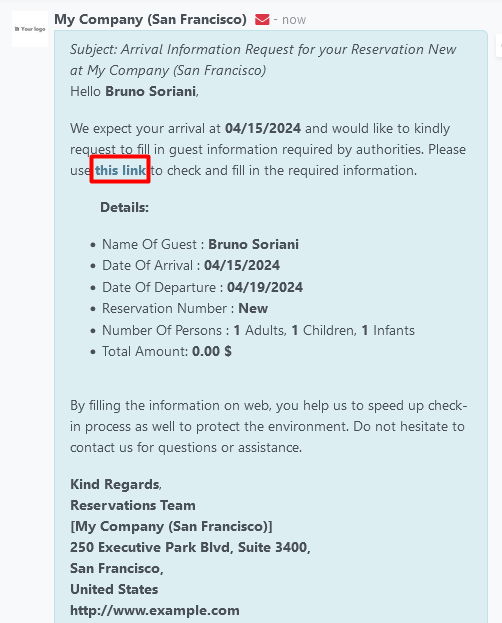

Online registration form
After sending the request, the guest will receive an email with a link to the guest portal where they will be able to fill out an online registration form, which consists of the following fields:
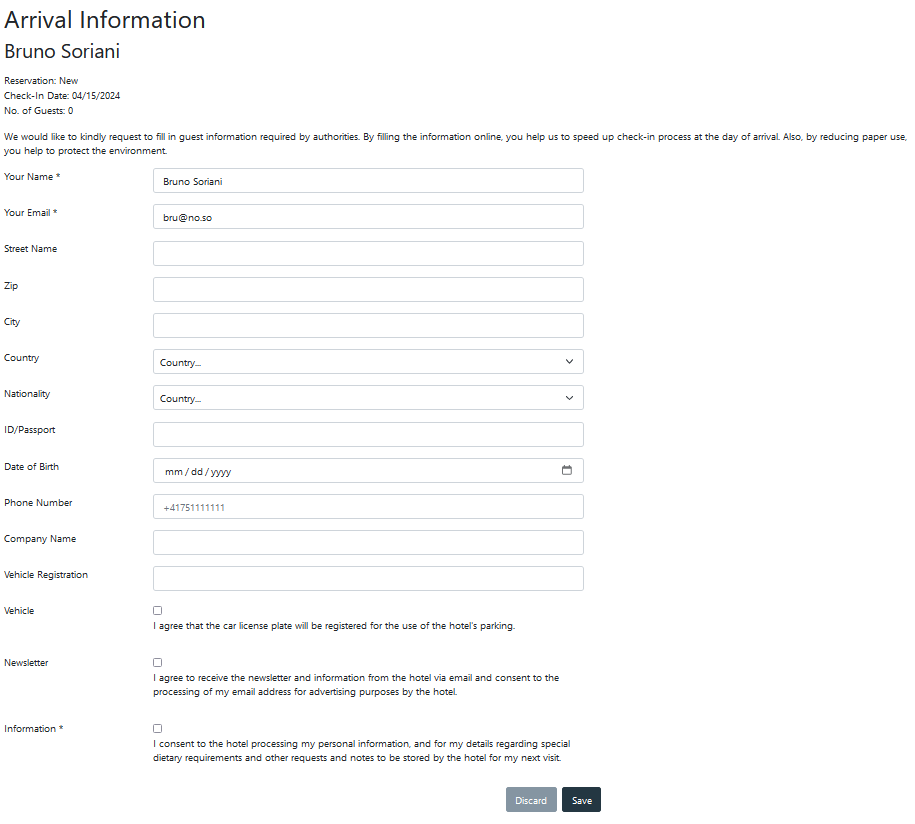
Displayed at the top will be the guest's name for the reservation, reservation number, check-in date, and total number of guests (including the main guest).
The guest should provide the following information:
- Personal details - 'Firstname', 'Lastname', 'Email', and 'Phone Number';
- Contact address details - 'Street', 'Zip', 'City' and 'Country';
- ID/Passport details - 'Nationality', 'Birthdate', and 'ID/Passport';
- Vehicle details - 'Vehicle Registration' and 'Vehicle' (approve to allow use reg. plate number for hotel's parking);
- 'Personal Information' - approve allowance of using personal information.
Guest Portal overview for additional guests
If the reservation has more than one guest, the additional guests will be handled separately on the next page.
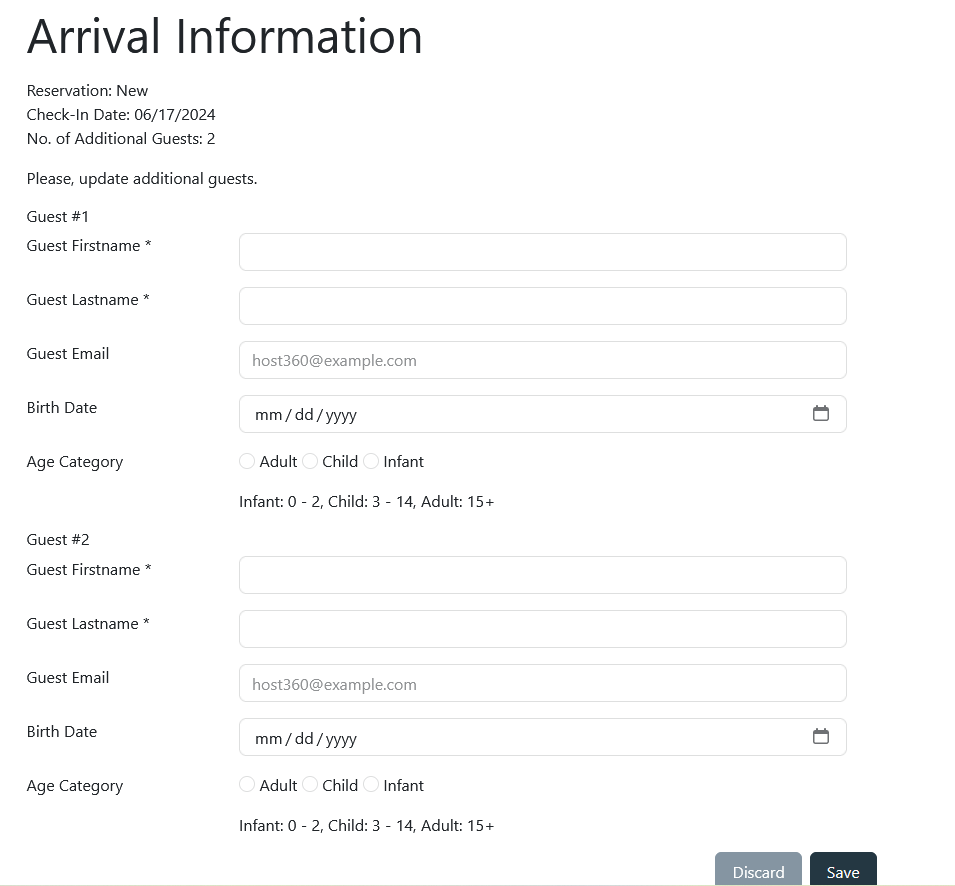
For the additional guests, the following information is required:
- 'Guest Name' - specify the first and last name of the additional guest;
- 'Email' - provide the additional guest email;
- 'Birthdate' - provide the additional guest's date of birth;
- 'Age Category' - if the date of birth is unknown or the guest does not wish to provide it, the age category of each additional guest should be indicated.
There are no comments for now.
to be the first to leave a comment.